How To Grow English Yew |
 The yew, which can be found as yew hedge or solitary in numerous gardens, enjoys great popularity. But also in a bucket this plant adorns itself and creates colourful accents by its red fruit berry. It is easy to care for but it requires regular pruning. The instructions for planting, care and pruning shows you how you are able to meet the requirements of a yew. Yews belong to the frugal and undemanding plant. They like the sun as well as they grow in the shade if the soil meets certain conditions. In order to reach a densely-grown carpet of needles, to prevent damages and pests as well as to create the shape as requested, the yew has to be pruned regularly. Apart from that, it doesn´t have many requirements for its care to meet so that it can also be planted easily by a layman and gives you joy as hedge or pot plant for a long time. How to Grow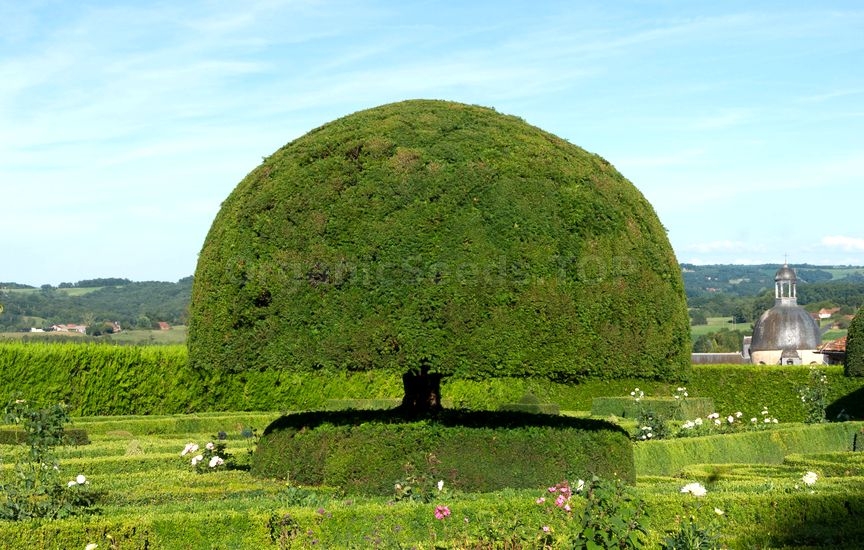 These decorative hedge and pot plant impresses not only optically but also by the ease of care. Once put in a perfect location and planted properly, it only requires little care. With these instructions for planting, care and pruning, you learn how to create the perfect base for a powerful and healthy thriving. The Yew is quiet flexible in the choice of the location. It is suitable for shady places as well as sunny spots. However, optimal is a half-shady location. If it is too dark, the growth rate decreases. In sunny locations, especially with alternating rain/snow and strong sun radiation, it can result in the drying up. Especially young yews react hypersensitively to strong and direct sun radiation. Yews with a high growth are to be wind protected. Strong winds could bend a grown peak shape apart. Soil conditions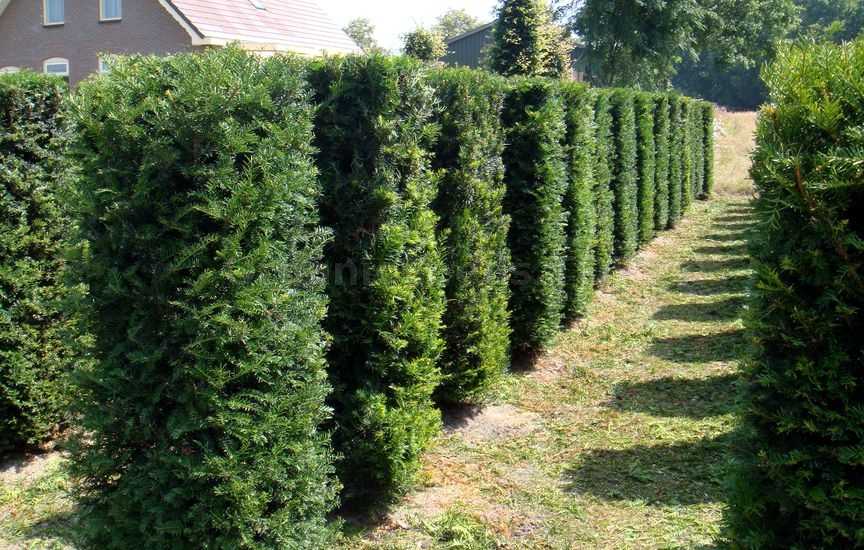 The conditions of the soil usually create a special base for healthy thriving. In this context, the yew doesn´t have special requirements neither and grows in nearly every soil. Nevertheless, a soil is beneficial, if it is:
If the soil is too sandy, the compost cannot be incorporated to achieve a slightly acid pH-value. Strongly acid soil as it can be found in swamp soil is not suitable for yews. The substrate should also be limy, slightly loamy and especially water-permeable. For example a bonsai soil or special plant or pot plant soil that has a high percentage of sand or clay granules is optimally suitable. Additionally the substrate can me be mixed with pumice gravel to improve the water permeability and to avoid waterlogging. For the planting of yews spring as well as autumn is suitable. Basically, for the planting time in spring no ground frost is allowed to appear anymore and as bigger the distance to the frost period in autumn is the better the yew can root unharmed in the new soil. Yews, which are to be planted in a pot, can already be implanted in April before the Ice Saints. However, the bucket can be put on polystyrene or a wooden board so that the cold of possible ground frost cannot reach the roots. Planting in the garden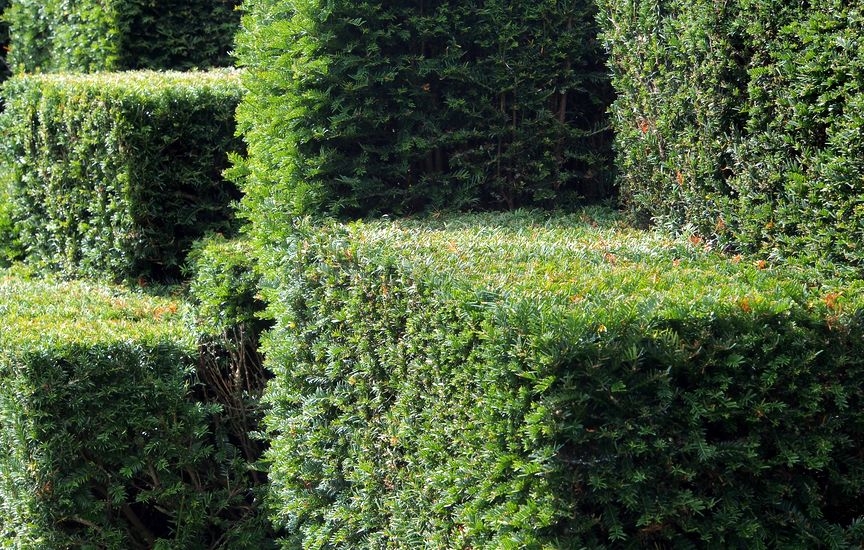 Yews are undemanding; however, they require a professional planting in order to remain there many years. Consider the following details and proceed with planting as follows.
Planting in the pot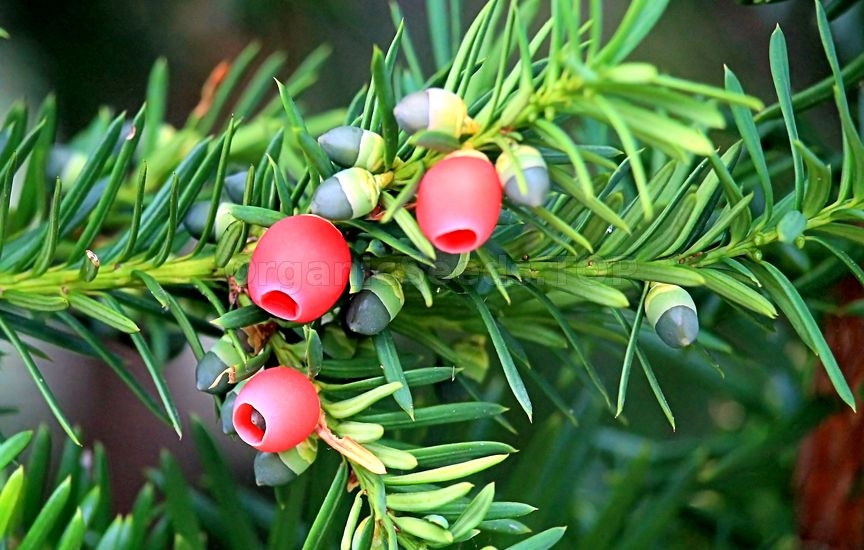 The planting in the pot or bucket resembles the planting in a bed. Only consider that the top layer of the substrate is two centimetres deeper than the edge of the pot. In this way, the overflow after watering is prevented. Ideal is the application of a saucer. Here the surplus water can be collected and poured off. In doing so, no waterlogging occurs. Care Especially young plants and pot plants require a lot of water. The soil should never dry out and should be kept appropriately wet. Make sure that no waterlogging occurs which a yew does not tolerate.
Spreading a layer of gravel or bark mulch on the surface of the soil or substrate is helpful especially for warm days. This prevents the evaporation of moisture and keeps the moisture longer inside the soil. Also regarding fertilisation the yew appears easy to maintain. During planting a fertiliser of horn shavings or basal rock dust dispenses sufficiently nutrients and minerals for the first couple of months, afterwards a fertilisation with compost or specific conifer or fir fertiliser is sufficient. This is to be incorporate once a year. Water generously after fertilising. In this way, the fertiliser spreads better and can be absorbed more easily by the roots. Additional to the fertilisation, you can water with limy water because the yew hedges need much lime to flourish. The perfect time to fertilise is the spring. As an alternative to the limy water, potash fertilizer can be given every six to eight weeks from spring to autumn. Pruning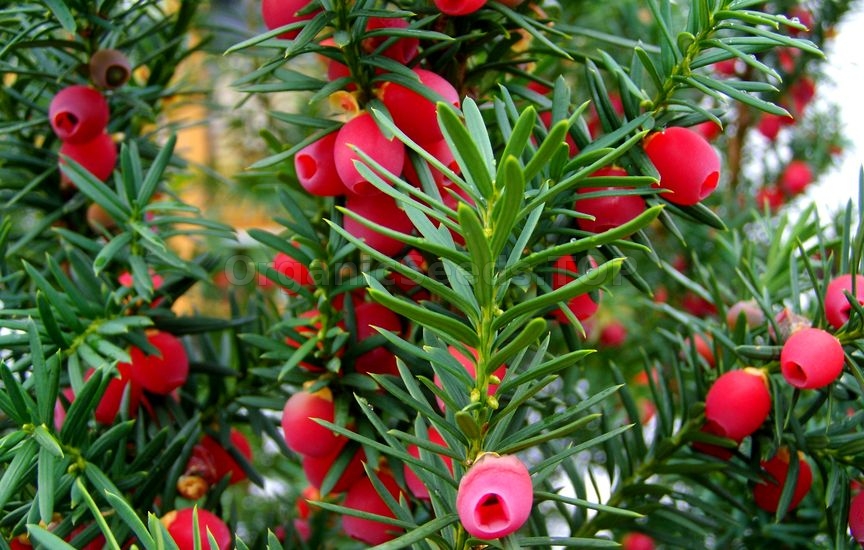 In order not to have to wait for a fully-grown overall appearance for years, regular pruning is to be carried out once a year, radical pruning every couple of years. The following you should know about proper pruning:
Hibernation The yew hedge or the yew is perennial. Therefore, it does not require special measures to protect it from the cold. Here you only have to consider that the soil will be kept properly wet in winter because the water evaporation is high due to the winter sun.
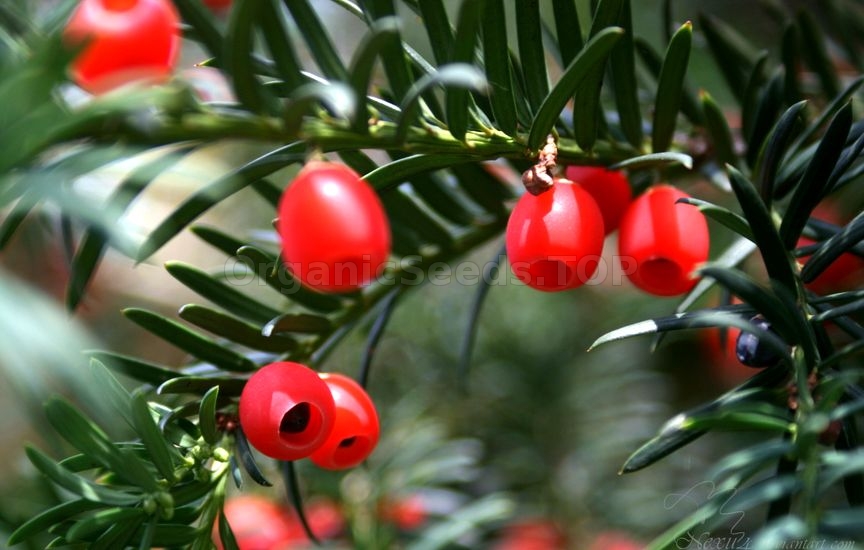
Particularly yews planted in a pot in a sunny location have an increased risk to dry out. Therefore, control often the humidity of the soil or substrate. During the winter months the yew gets no fertiliser and is not to be pruned under any circumstances. However, young plants in the first and second year are to be protected from extreme cold at least by a location with little wind. Buckets with young plants are to be put on a support such as polystyrene. In this way the ground cold cannot reach the roots. Sowing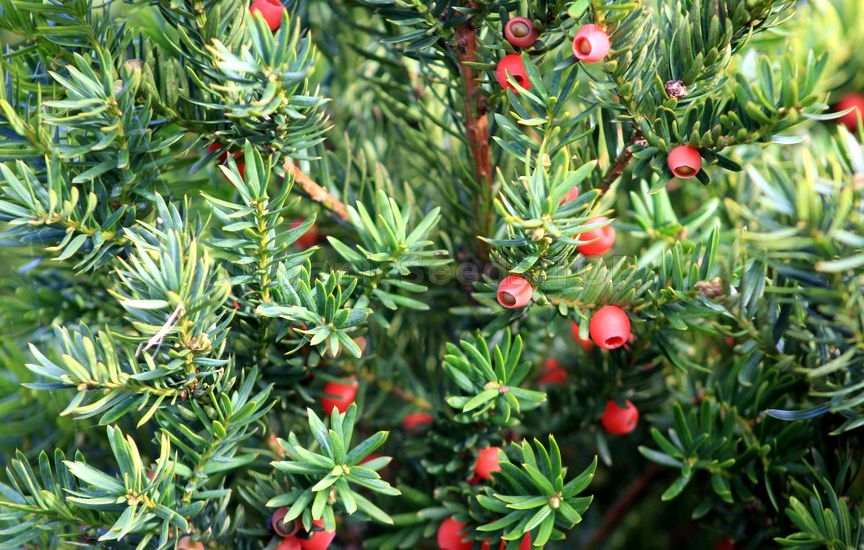 A bit more complicated is the breeding by sowing, if not-completed seeds in sachets in the gardening store are used. The yew ranks among the so called frost sprouts and accordingly the seeds have to be treated. The seeds can be taken out of the red fruits approximately in the of May after the flowering period, if they are coloured brown. Subsequently you have to stratify the sprout. That means exposing it to a cold treatment.
For this, you have to proceed as follows:
Cuttings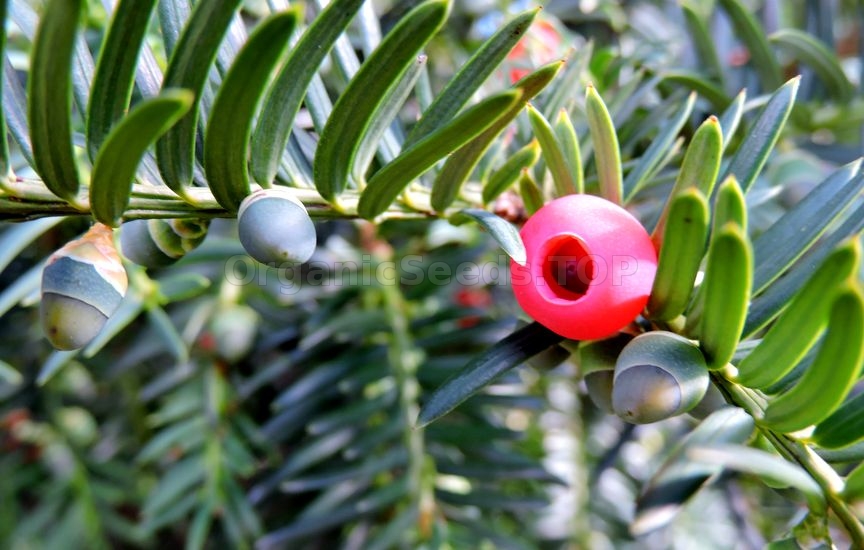 Easier is the breeding by cuttings. These you can extract easily after the pruning in spring or until June. In doing so, proceed like this:
|
|
|