Microgreens at Home |
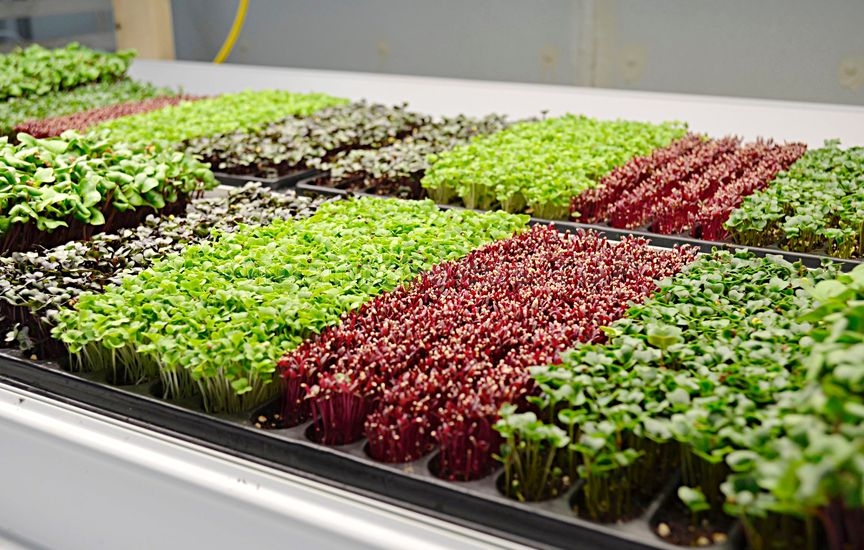 You might have grown basil or parsley inside, but the award for easiest vegetable to grow in the kitchen window actually goes to microgreens — the perfect topping for any quick salad. Here's how to grow your own: 1. Find your container.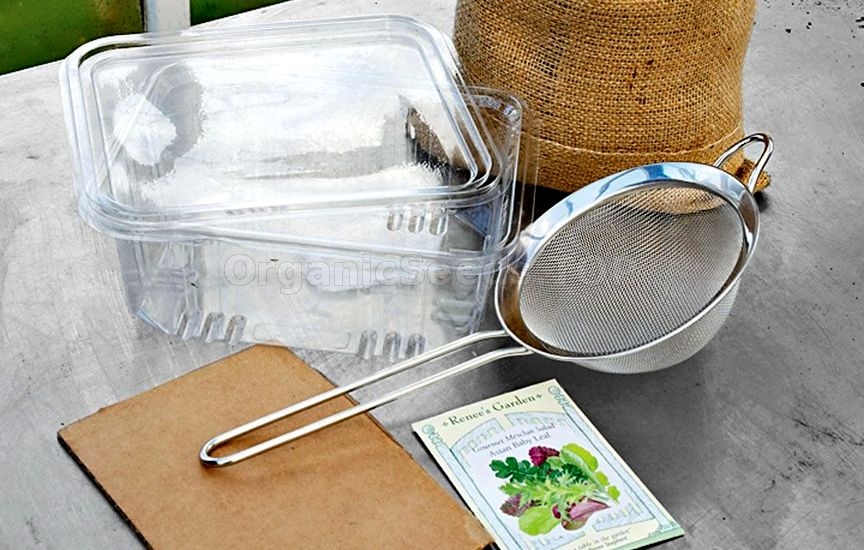 Select a shallow plastic container with drainage holes, such as a nursery flat or prepackaged salad box (either clear or opaque will work). Fill the container with 1½ to 2 inches of moistened potting mix. Cut a piece of cardboard to fit inside the container. Gently press the cardboard onto the soil to create a flat, even surface.
2. Add the microgreen seeds.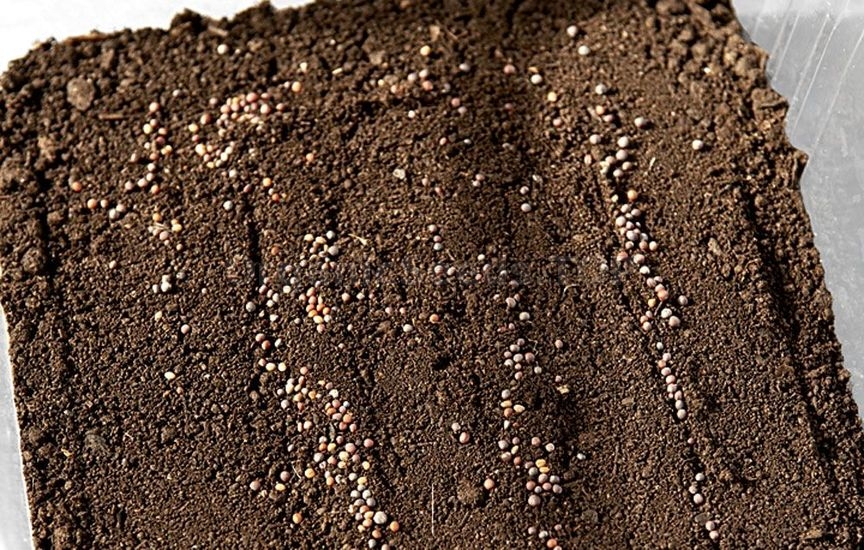 Mesclun seed mixes are a good choice for microgreens. Varieties like Asian Baby Leaf Mix contain a blend of greens selected because they tend to sprout at the same time. Single-crop microgreens also work. Scatter the seeds over the soil surface, then place the cardboard over the seeds and lightly press them into the soil.
3. Sprinkle on more potting mix.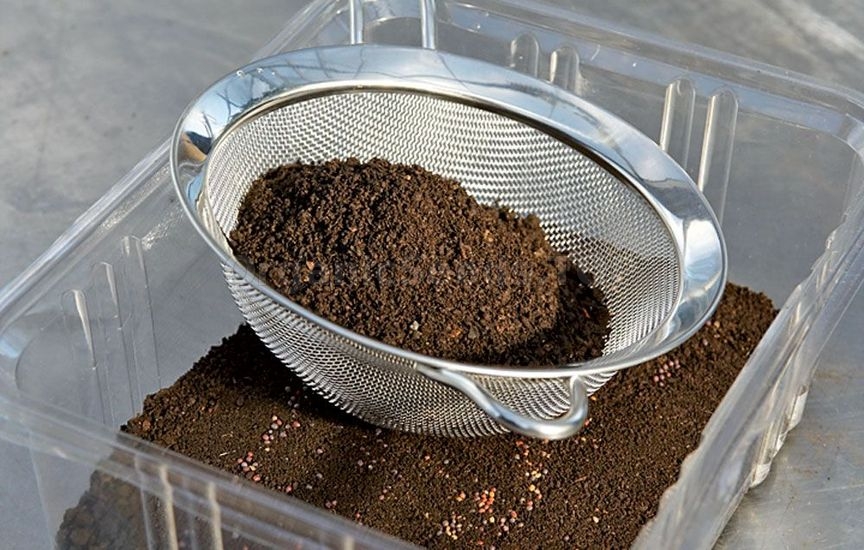 Using a coarse wire-mesh sieve, sift a very fine (⅛-inch) layer of dry potting mix over the seeds.
4. Shower gently with water.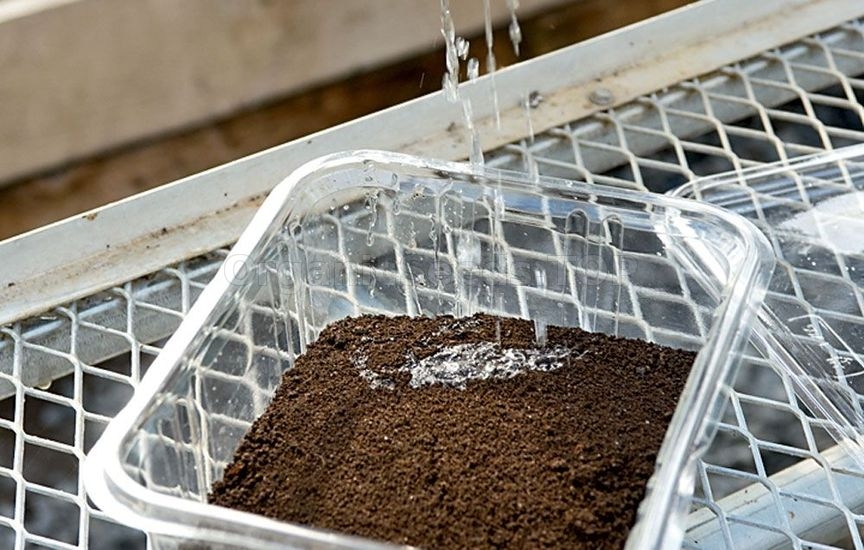 Set the container onto a drip tray and then carefully water the seeds with a gentle shower from a watering can. Place the tray on a sunny, south-facing windowsill or under grow lights. Expect the seeds to germinate in three to seven days.
5. Harvest your microgreens.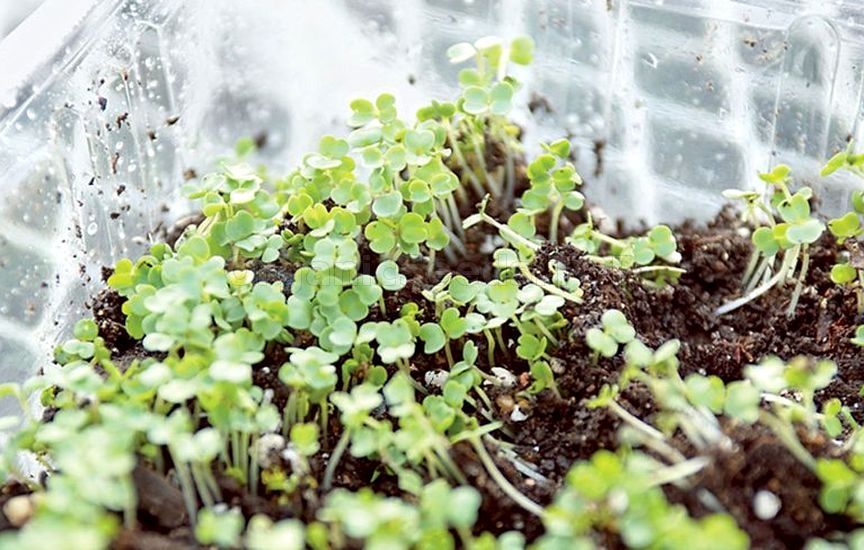 Keep the soil consistently moist. Prevent soggy soil by pouring off any excess water that collects in the drip tray after watering. To harvest, snip the microgreens right above the soil line when their first true leaves unfurl (about seven to 14 days after germination, depending on the green). The microgreens are nutrient-dense and make a healthy addition to salads and sandwiches. You may need:«Dutch» - Organic Watercress Seeds«Utskho Suneli» - Organic Blue Fenugreek Seeds«Firework» - Organic Watercress Seeds«Sprouting Seeds» - Organic Alfalfa Seeds«Macro Health» - Organic Chia Seeds |
|
|
