Ultimate Guide to Growing Artichokes |
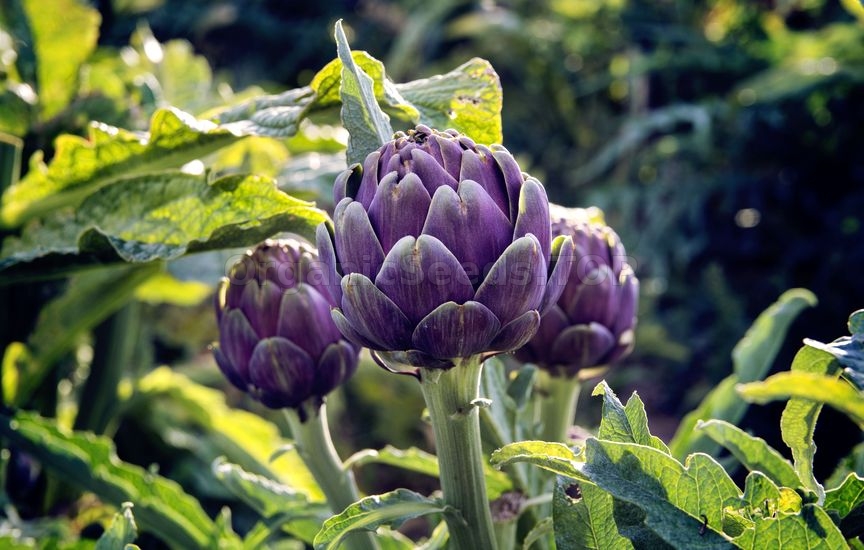 With long, silvery leaves and strikingly attractive blooms, the artichoke is a unique addition to your vegetable garden. Growing artichokes isn’t difficult, and with the proper planting, watering and pruning, you can enjoy a bountiful harvest of edible chokes. What is an Artichoke?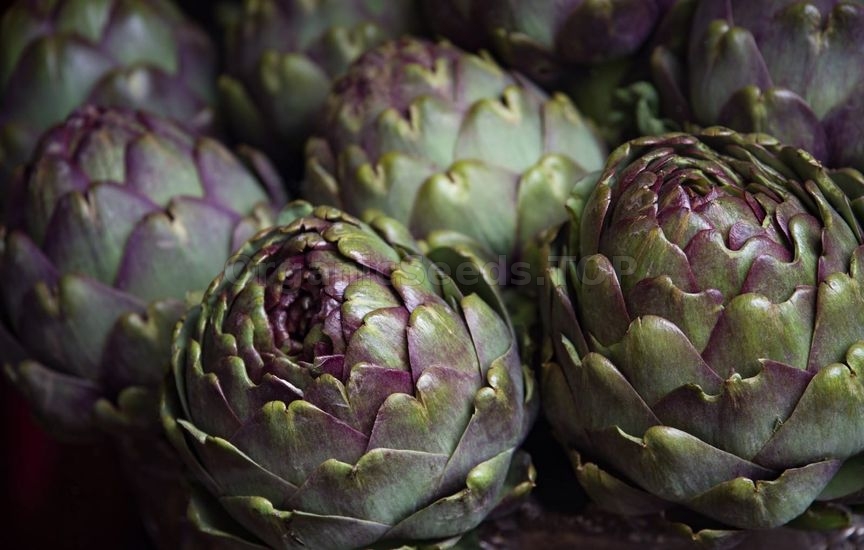 Many people think of thistles as prickly weeds, and no gardener wants a weed in their vegetable garden. But the artichoke, scientifically known as Cynara scolymus, proves that not all thistles are a nuisance. Eaten by the ancient Greeks and Romans, this member of the thistle family has been cultivated as a gourmet food for centuries.
Where do artichokes grow? Although the artichoke isn’t traditionally a hugely popular plant in the United States, it can actually be grown in almost all US growing zones. Artichoke growing zones range from Zones 3-11, while artichokes grow as perennials in Zones 7-11. Colder zone gardeners can still grow artichokes, but only as annual vegetables. Most of the plant is edible, but the portion usually eaten is the immature flower bud in the center, formed before the artichoke blooms. Steps to Growing ArtichokesMembers of the thistle family are known for their ability to grow in almost any location. Because artichokes require lots of room and a long growing season, how to grow artichokes and achieve large harvests is a primary concern for many growers.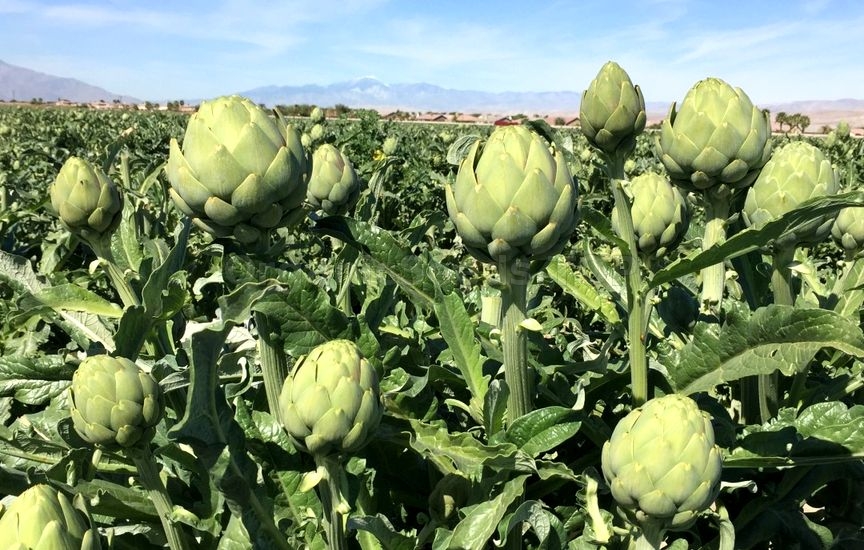
Artichoke plant care begins with great drainage and plenty of sunlight. Often, gardeners assume their artichoke plants haven’t returned in the spring due to a cold winter. But in reality, soggy soil is usually to blame. Consistently sitting in moisture will damage the artichoke crown and root system.
Artichokes love to eat up all the nitrogen from soil. If you’re planting artichokes in your vegetable garden, good artichoke companion plants include peas, cabbage, sunflowers and tarragon. These plants will not compete for nutrients.
Artichokes grow in most soils, but deeply worked, nutrient-rich soil full of organic matter will increase your artichoke harvest. To check the texture of your soil, grab a handful, give it a squeeze and then open your hand. Properly mixed soil will not clump together, but it also won’t fall apart. It should gently crumble across your palm.
To prepare your artichoke bed, dig your row at least 8 inches deep and work in 5 inches of compost. For a large artichoke garden, mix in 100 lb. of manure for every 100 square feet of garden space. 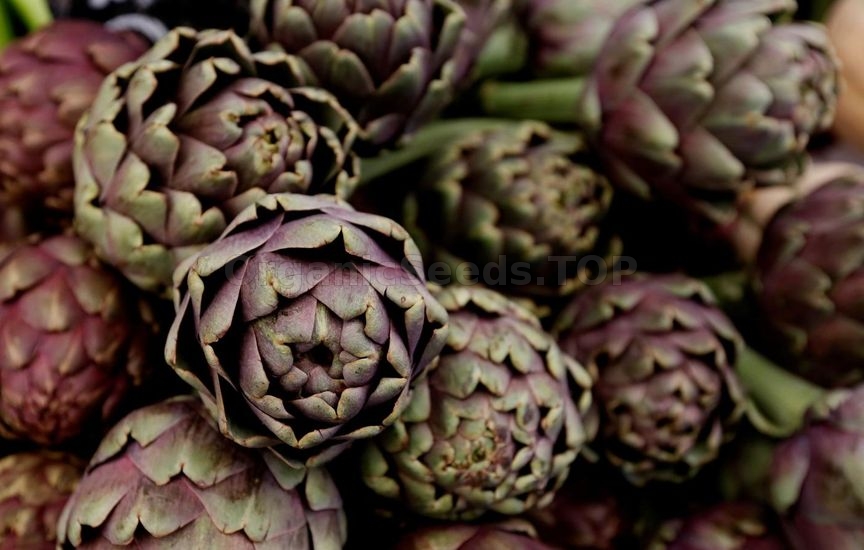
Planting artichokes from seed can be a bit of a gamble – they don’t always stay true to seed package labels. Growing artichokes from seed isn’t impossible, but be forewarned it takes a bit of time. Artichoke seedlings usually need to be approximately 60 days old before transferring to your garden. Root divisions are an easier option and are widely available from both local and online nurseries and garden centers.
With a height of 3 to 4 feet and a mature diameter of up to 6 feet, artichokes take up a lot of space. Artichoke plants require full sun, so if you plant them too closely together, the large plants can shade smaller ones. Plant your artichoke transplants in a row at an interval of 4 to 6 feet. Placing rows 6 to 8 feet apart will allow room to easily water, fertilize and harvest. Building the row up in a mound or with irrigation channels will help improve soil drainage.
Annual varieties produce buds during their first season because they’re not guaranteed to last the winter. If you see poor results with your annual artichokes, you may need to trick them. Expose the seedlings to cool temperatures below 50 degrees in March and April. If temperatures drop below freezing, bring them indoors. Then, wait to plant until after the last frost.
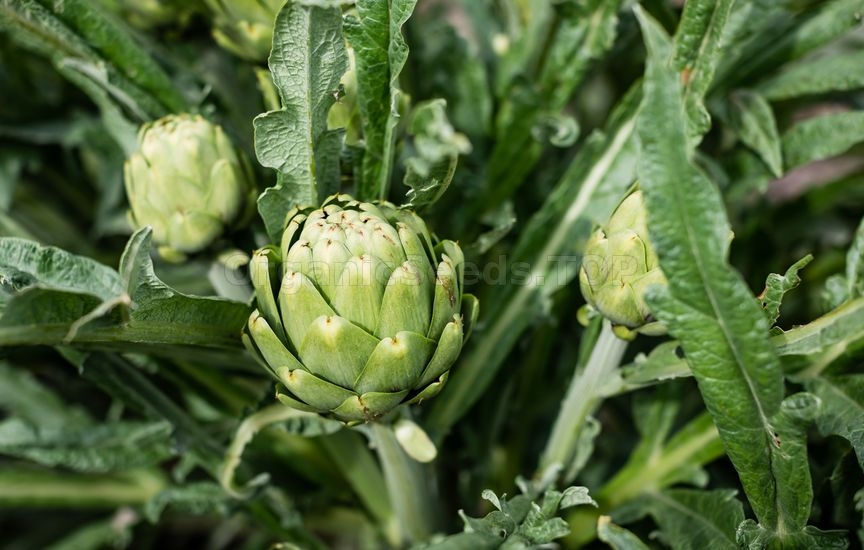
Artichokes love water. They need it to produce tender buds. As a thistle, the perennial power of an artichoke plant lies in its deep roots. To encourage strong roots, water deeply between 1 to 3 times a week, depending on the weather.
Extremely hot summers can cause artichoke buds to open quickly into flowers. To prevent this from happening, overhead irrigation can keep the temperatures down so buds won’t open. Mulching around each plant can also help reduce soil temperatures and water evaporation.
Taking the time to properly fertilize your artichoke bed gives your plants the essential nutrients for a well-established start. Apply a balanced vegetable plant food every two weeks throughout the growing season for healthy plants and high yields.
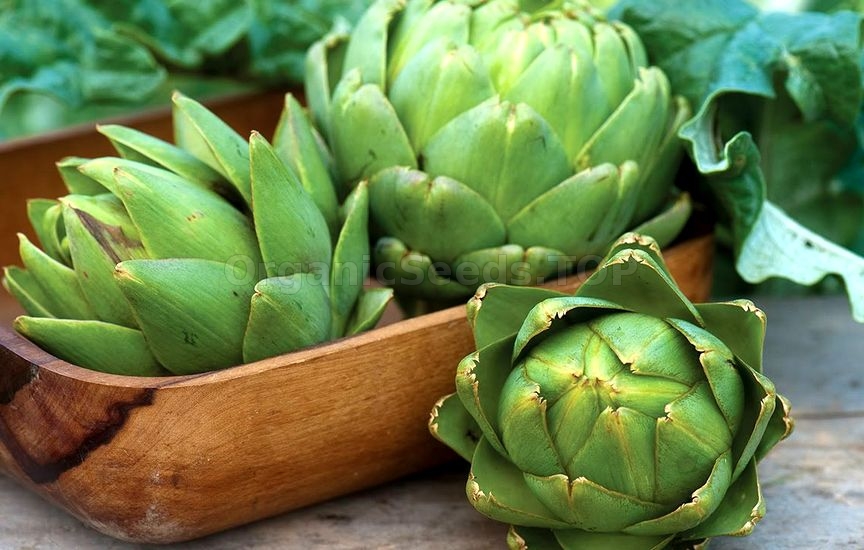
The center artichoke bud matures the fastest and grows the largest. When harvesting artichokes, all you need is a utility knife to cut the stem approximately 1 to 3 inches from the base of the bud. The stem becomes a useful handle when trimming the artichoke.
After harvesting the center bud, the artichoke plant will produce side shoots with small buds between 1 to 3 inches in diameter. These side buds are extremely tender and flavorful.
Once the plant stops producing buds in the fall, pruning artichokes helps to prepare for over-wintering. Simply cut the artichoke stem back to a few inches above the ground. Apply a thick mulch of leaves or straw over your artichoke bed to protect the plants for cold winters. If the winter weather dips below 15 degrees, some plants may be damaged. Remove the mulch in the spring after the last frost date for your growing zone.
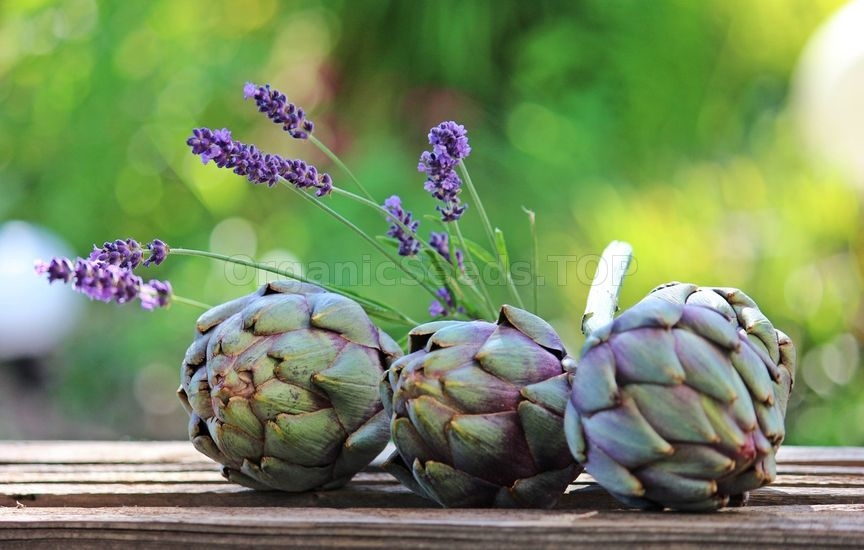
Artichokes are generally considered 5-year plants. Each plant produces off-shoots that begin to crowd the parent plant. To maintain a healthy artichoke garden, carefully divide your artichoke plants every few years. You don’t have to dig up the entire plant, though. You can simply separate a rooted shoot with your gardening knife and then carefully dig it up with a spade.
How to Trim an Artichoke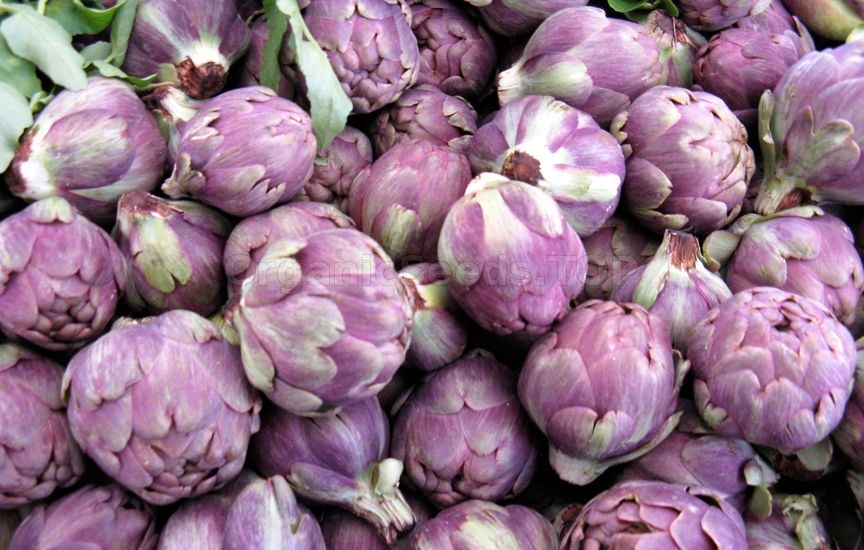 Trimming an artichoke is not difficult once you understand the process. Artichokes require just a bit of work after harvest to become edible.
You may need:«Green Globe» - Organic Artichoke Seeds |
|
|
