Growing Pumpkins |
Growing a pumpkin is easy, fun and rewarding. On our farm, our approach is a bit different than what you might read on the back of a seed packet or on other internet sites. It isn't nearly as hard as some instructions make it sound. Below you will find a wealth of basic information so you can learn all about growing pumpkins.
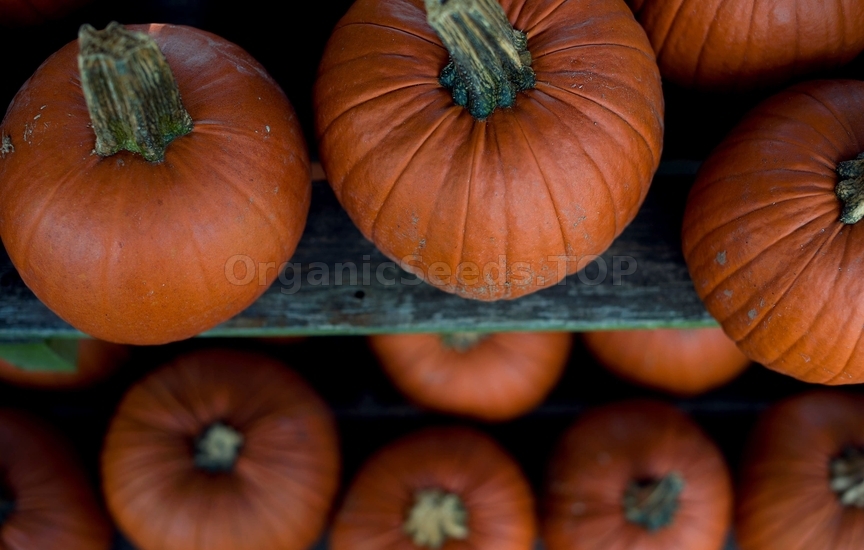 If you want to grow a pie pumpkin Baby Pam's are a good choice. If you want to grow Jack-O-Lanterns a good variety to start with would be Connecticut Field or a Howden. If you would like to grow a miniature variety, I'd recommend Jack-Be-Littles. Some of the heirlooms can be a bit fussier, so any of the varieties I just listed would be excellent beginner choices. Good seed is an important first step. If pumpkin seeds have been stored properly, they can last for several years. I've even read where one fellow had 50-year-old seed germinate. Even so, if you want a high germination percentage, and healthy and vibrant plants, you should start with fresh seed from a reputable company. Try to purchase seed that is the exact variety you want, not a generic seed like you sometimes find at big box stores or bargain seed at drugstores that just read "Pie Pumpkin" or "Jack-O-Lantern". If you are in climate with a short growing season you can start your seeds indoors. My experience is that plants started indoors can quickly get spindly, and aren't too fond of being transplanted. Only start seeds indoors if you absolutely must. Again, the same as with seeds, if you choose to purchase seedlings instead of growing your own, be sure to purchase from a nursery that lists actual varieties. Many big box stores will label them simply as a pumpkin. Why go to the time and effort if you don't know for sure what sort of fruit your plant will bear? Where to plant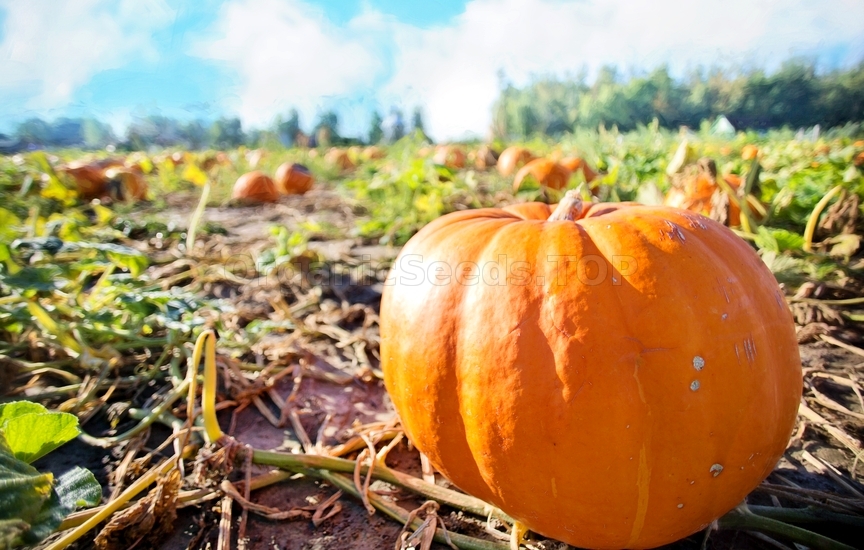 The second step is choosing an area to grow your pumpkins. First you need to choose an area that gets full sun. The vines get quite long (usually 20 - 30 feet) and need room to grow. This doesn't mean you have to have a big yard or a farm. If you have a long bed on the backside of your house or a garage, this can be the perfect place to grow a pumpkin. Your site also needs to have good drainage. If water stands during the rainy season in the soil strip alongside your garage, this won't be a good place to grow pumpkins.
If your soil has been used in the past to grow flowers, a vegetable garden, or even a lush patch of weeds, then it will be suitable to use for planting pumpkins. If you have compost available, work some into the soil in the area you will be planting to create a nice seed bed environment. Contrary to what you read on seed packets, pumpkins don't have to be planted in a mound of soil. On our farm we actually place the seed on the bottom of long narrow ditches. The exception for mounding would be if you live in an area that has frequent rain during the summer months, and/or your soil has poor drainage. Mounding can help prevent some diseases caused by the soil being continually wet around the stem. In California we thankfully don't have those problems. Choose a spot in your garden or flower bed where you can plant your seed roughly at the center of where you expect the vines to spread. We get quite a bit of wind on our farm. Wind can be really hard on pumpkin leaves and vines. To mitigate this we plan our vine rows so they grow in the same direction as the wind. If you have a lot of wind, and you are planting in a spot that isn't protected, you might want to consider planting your vine rows based on the wind direction. You can also put up shade cloth or temporary fencing to help protect your vines. When to plant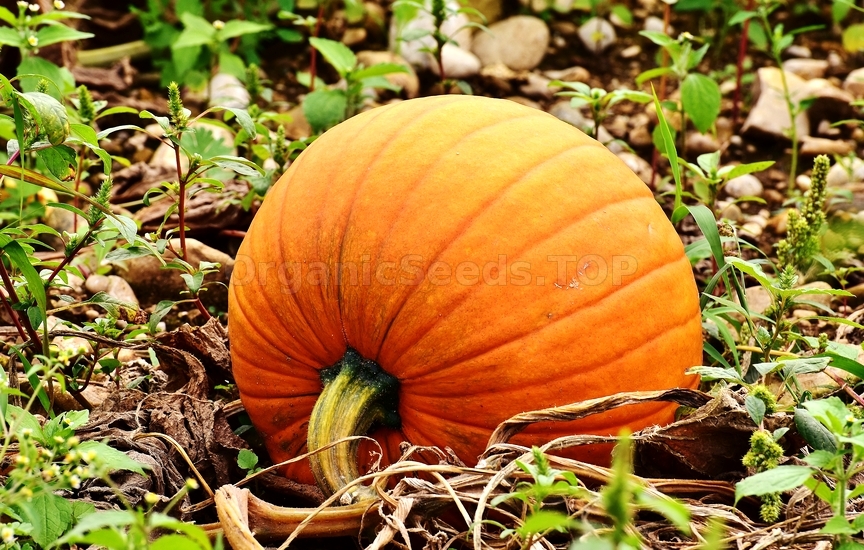 Pumpkins are very frost sensitive. You should wait until the days average at least 70°F and the last chance of frost has passed. On our farm we generally plant all of our pumpkin varieties the first week of June. Depending upon where you are in the United States, you can generally plant between late May and late June. If you plant any later than late June, large pumpkin varieties won't be mature in time for Halloween, and may be damaged by fall frosts.
Most pumpkin varieties take between 85 - 125 days to mature. Most of the heirloom and larger varieties are on the longer end of the spectrum. The number of days to maturity will be listed on your seed packet that you purchased. If you would like to have pumpkins on October 1st, count backwards to decide when to plant. Plant your seeds 1 - 2 inches deep. Don't worry about which end is up. The plant will find its way to the surface. Your seeds should sprout in 7 - 10 days. Once your seedling sprouts is a good time to add additional compost around the plant. The compost will help to keep weeds down and retain moisture. Again, if you don't have compost, don't stress, pumpkin vines are pretty resilient. Keep it simple and keep it fun. How to water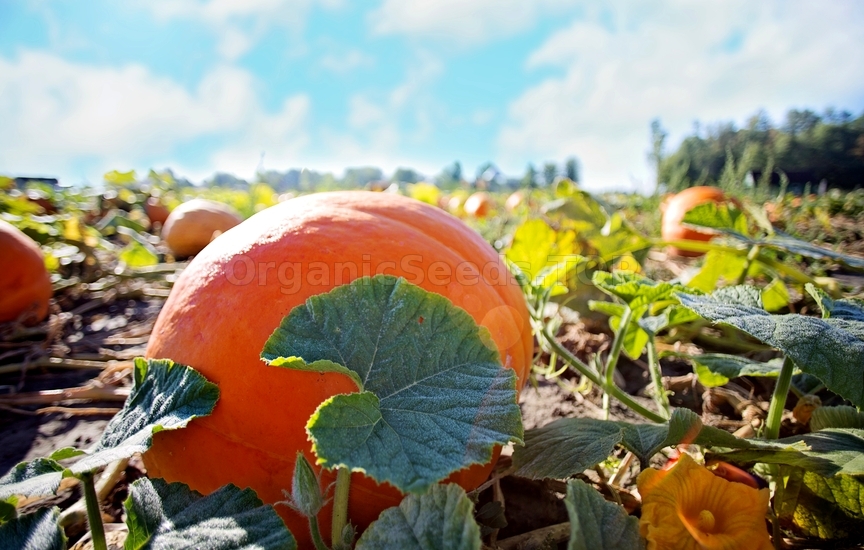 Pumpkins are about 80 - 90% water, so as you can imagine they use a lot in their growth. The secret is to only water pumpkins when they need it. Check the soil with a trowel or a hoe. As long as the moisture is good and your plant looks happy, leave it alone. When the soil is starting to dry out, or the plant starts to look a bit droopy, give it a long deep drink. Deep but infrequent watering results in a healthier plant.
It is important to not get water on the leaves, and water in the morning instead of late in the evening, to help stave off fungal diseases. When your pumpkin fruit starts to turn orange, gradually decrease the amount of water. Your pumpkins will store longer if you cut off water 7 - 10 days before you harvest. Disease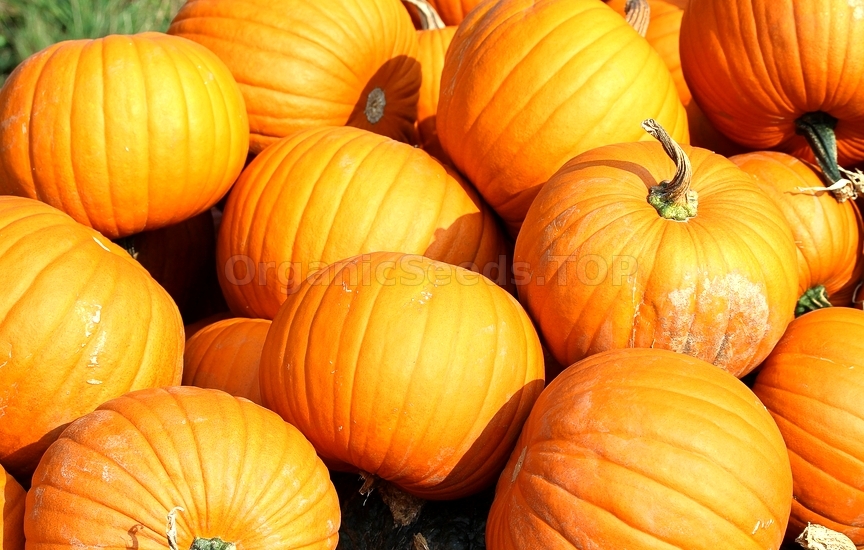 Another important aspect to watering is to not get water directly on the plant's leaves. Almost all pumpkins are susceptible to a fungal disease called powdery mildew. Powdery mildew looks like your pumpkin leaves were dusted with talcum powder. The leaves will gradually wither and die. Sometimes the whole vine will die as a result.
Some areas of the U.S. also have a problem with downy mildew. Downy mildew first shows itself as yellow or light green patches on your leaves. The bottom of the leaves will have a gray fuzzy mildew developing. These patches will turn black and the leaf will die. A warm moist environment encourages mildew growth. Keeping water off of the leaves, and watering in the morning instead of late in the evening, can help stave off this disease. If you have a bad outbreak of powdery or downy mildew, it can kill your vine and affect crop quality and production. If you do develop one of these fungal diseases, there are several different organic products you can use. Use caution using baking soda or other home remedies as improper ratios can do more harm than good. Check with your local garden center and read labels to find the product right for you. Blossoms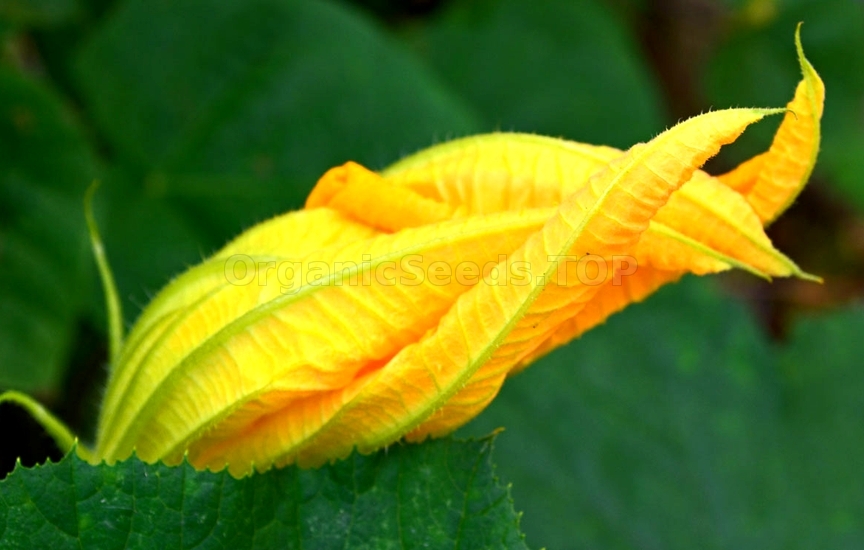 Don't be alarmed if your plant starts to blossom and they are all simply falling off. The first blossoms are almost always male. You can tell a male from a female blossom by the shape of the base where the stem attaches to the blossom. If it is straight, like the photo (right) it is a male. If it has a small bulb at the base (below), it is a female. The early male blossoms have pollen that attracts bees, which helps to establish a pattern for the bees to find your pumpkin patch.
When a female blossom opens, it is only for one day, and depending upon the weather, it may only be open for a few hours. If a bee or other insect does not transfer pollen from the male to the female, it will fall off and die as it was not fertilized. You can see why bees are so very important for both small backyard growers and large pumpkin farms. Without bees, gardeners and farmers would have to hand pollinate each blossom or there would be no crop. Weeds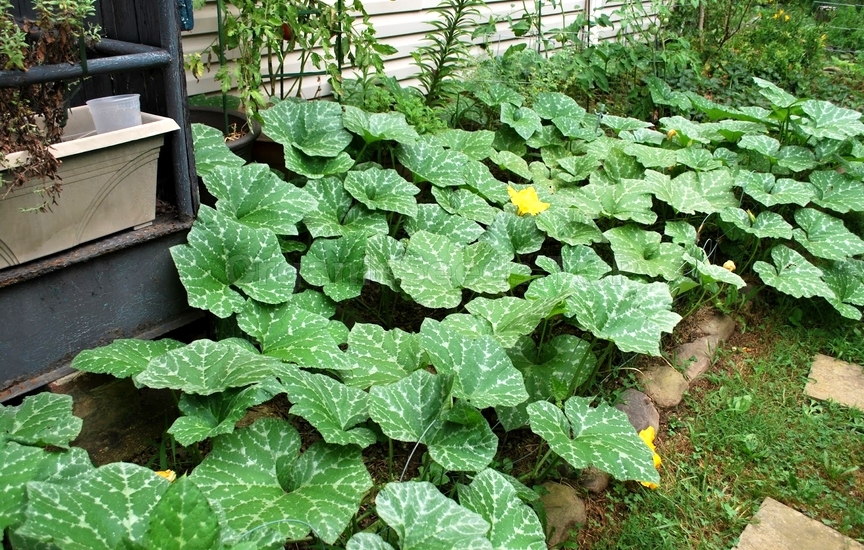 A few weeds is not a problem. A lot of weeds can be a big problem. Weeds directly compete with your pumpkin plant for water and for nutrients in the soil. Some weeds also can be a host for diseases or bug populations.
A product you can use after your pumpkin seedling sprouts and has 5 leaves is called Organic Preen. When applied around your plant it can keep additional weeds from germinating. You can also apply compost around your plant to discourage weeds. Be sure that your compost is fine, as large chunks like wood bark can serve as a home for pill bugs (sowbugs), earwigs, four line beetles and other unwanted pests. If you have lots of weeds, it is time to get the hoe out. Once the vine starts to grow in size, the large leaves help to shade out small weeds that may germinate later. Harvesting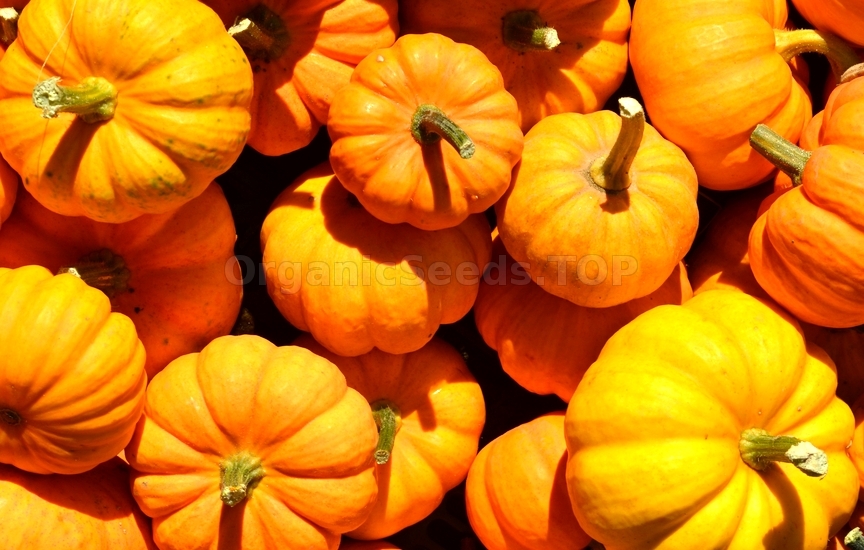 There are many indications that your pumpkin is ready to harvest. A Jack-O-Lantern variety should be predominately orange in color. If the vine has started to "go away" (meaning dying off and declining) this is another signal. Sometimes the stem is already starting to twist and dry. The most important indication to look for, is that the shell has started to harden. If you can easily indent the pumpkin skin using your fingernail, the fruit is still too immature to harvest. If you harvest it at this stage, your pumpkins will likely shrivel and spoil within days. When the shell has hardened, your pumpkin is ready to cut from the vine. Use shears to cut the stem. Leave the stem as long as you possibly can. A six inch or longer stem is a very fine thing indeed. Never pick up a pumpkin by its stem. The stem can break, and if broken at its base it will rot quickly. You may need:«ARABAT» - ORGANIC PUMPKIN SEEDS«MAKARONOWA WARSZAWSKA» - ORGANIC PUMPKIN SEEDS«PINK BANANA» - ORGANIC PUMPKIN SEEDS«VIOLINA» - ORGANIC PUMPKIN SEEDS«ATLANTIC GIANT» - ORGANIC PUMPKIN SEEDS |
|
|
