
How to prepare garden tools for winter so you don't have to buy new ones in spring |
A shovel, pruner, hoe, and other tools after the end of the season are often sent to the shed dirty and wet. This leads to the fact that during winter storage their metal parts become covered with rust, wooden handles crack, and moving mechanisms begin to jam.
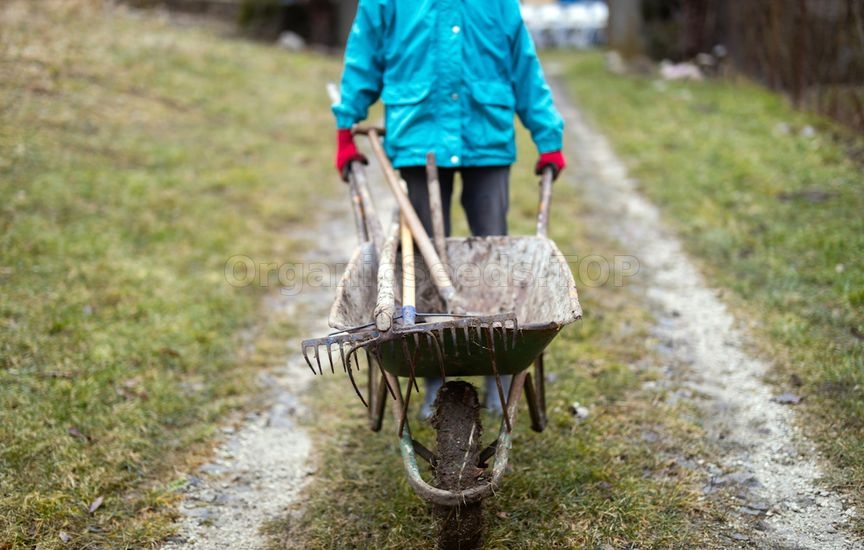 The main causes of premature wear of garden tools are moisture, dirt, corrosion, and improper storage. Pieces of earth, organic acids from plant sap, and fertilizer residues trigger the process of metal corrosion. In wooden handles, rot can develop due to dampness, and severe drying out causes cracks. Plastic elements and rubber hoses lose their elasticity in the cold, and the remaining water inside them expands when freezing and damages the materials from the inside. To extend the service life of tools, in autumn they need to be cleaned, dried, sharpened, and treated with suitable protective agents. We will tell you how to prepare tools made of different materials for winter and how to properly organize their storage. Clean the tools from dirt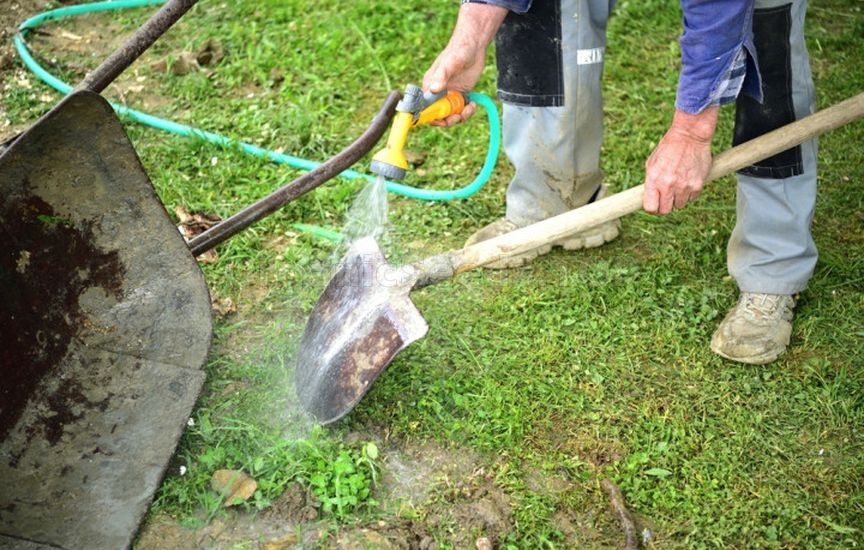 A shovel, pruner, hoe, and other tools after the end of the season are often sent to the shed dirty and wet. This leads to the fact that during winter storage their metal parts become covered with rust, wooden handles crack, and moving mechanisms begin to jam. The main causes of premature wear of garden tools are moisture, dirt, corrosion, and improper storage. Pieces of earth, organic acids from plant sap, and fertilizer residues trigger the process of metal corrosion. In wooden handles, rot can develop due to dampness, and severe drying out causes cracks. Plastic elements and rubber hoses lose their elasticity in the cold, and the remaining water inside them expands when freezing and damages the materials from the inside. To extend the service life of tools, in autumn they need to be cleaned, dried, sharpened, and treated with suitable protective agents. We will tell you how to prepare tools made of different materials for winter and how to properly organize their storage. Clean the tools from dirt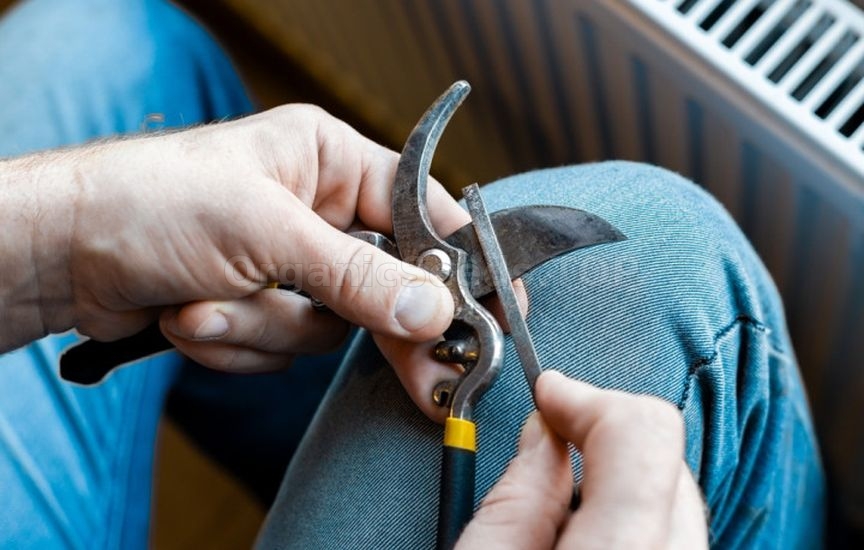 A dull tool is not just inconvenient – it forces you to apply more effort, wears out faster, and damages plants, leaving torn cuts on them that heal much longer and rot more often. Late autumn is the ideal time when you can take your time to put shovels, hoes, pruners, and saws in order so that in spring you can immediately get to work. First inspect the working parts of shovels and hoes. If there are bends or severe nicks on them, they need to be straightened with a hammer on an anvil or massive vise. Sharpening of these tools is carried out with a regular flat file or a fine-grained whetstone. You need to sharpen strictly on one side – on the front side of the blade, maintaining the factory bevel angle, which is usually about 45°. Do not grind the metal too much: an excessively thin edge deforms faster upon contact with stones and roots. Pruners and loppers require an even more delicate approach. Before sharpening, it is advisable to carefully disassemble them to gain access to the entire length of the blade. For their straightening, fine-grained diamond stones or emery paper on a fabric base with fine grain are used. Sharpening is done with smooth movements from the base of the blade to its tip. After sharpening, be sure to remove burrs from the back side of the blade by running a stone over it flat once, and remove metal dust. After sharpening, check the springs, hinges, screws, and locks of pruners and loppers. If the blades do not close tightly or the mechanism moves with effort, adjustment of the fasteners may be required. For moving joints, use oil or lubricant recommended by the manufacturer. Apply the product moderately so that it does not collect dust and complicate operation. If the design provides for special lubrication points, treat them according to the instructions. Then open and close the tool several times. The movement should be smooth, without jamming or excessive clearance. Check the lock and put the pruner away for storage in the closed position. Garden saws are designed differently. In some models, the teeth are hardened and are not intended for self-sharpening with a regular file. Clarify the manufacturer's recommendations: depending on the design, a special tool, sharpening in a workshop, or blade replacement may be required. Remove rust and protect the metal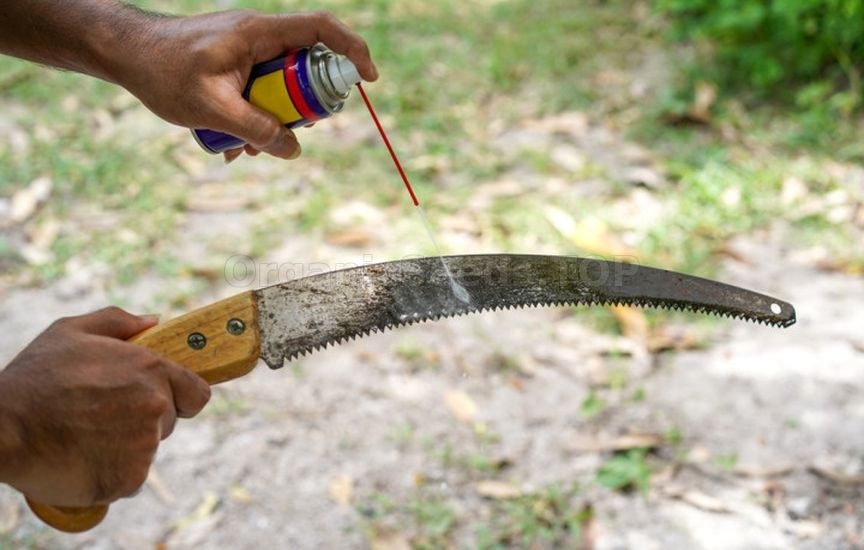 Inspect all metal surfaces and fasteners of your tools. A small rust film can be removed with fine sandpaper or a brush. After cleaning, remove dust and completely dry the tool. If the paint is damaged on a metal part, restore the coating with a suitable anti-corrosion primer and paint. Now that the tool is cleaned of dirt and rust, our main task is to block the access of oxygen and moisture to the metal. This is the only way to protect it from corrosion. Various lubricants are used for this purpose. The most affordable option is ordinary machine oil or technical petroleum jelly. Modern silicone lubricants in aerosol cans are also excellent, as they easily penetrate into the most hard-to-reach components and hinge mechanisms of pruners. If you prefer eco-friendly methods, you can use linseed oil – it creates a strong protective film on the metal after drying. Apply the chosen product with a clean cloth, paying attention to hinges, bolts, and joints. Remove excess: a thick layer of oil does not bring additional benefits but attracts dust. Check wooden handles and grips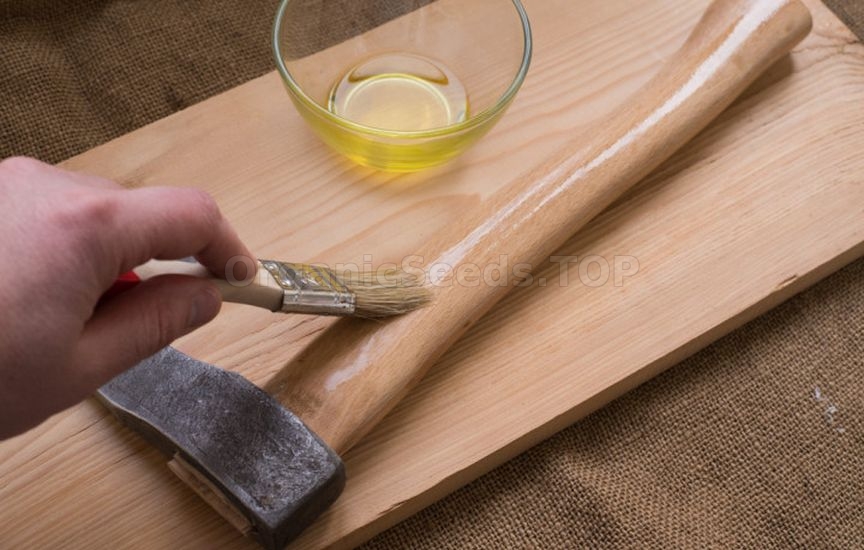 Wooden handles also require no less serious care. If they are not treated in autumn, they may dry out, become covered with cracks, or become moldy in a damp shed during the winter. Inspect the handles of shovels, rakes, and other inventory. Pay special attention to the attachment points: cracks and loose joints increase the risk of breakage during work. Tighten loose fasteners and replace damaged wedges. If the handle has split near the metal part, it is safer to install a new one. After inspection, all handles need to be thoroughly treated with fine sandpaper to remove roughness and splinters. Then clean the wood from dust and make sure it is dry. Untreated wooden handles can be protected with a wood treatment product, such as drying oil or linseed oil. Apply a thin layer, let it soak in, and remove excess with a dry cloth. Such treatment makes the wood waterproof, preserving its elasticity and strength. Varnished and painted handles with intact coating only need to be cleaned and dried. Do not apply oil to them without checking compatibility. If the protective layer has cracked, restore it with a suitable compound. Drain water from irrigation systems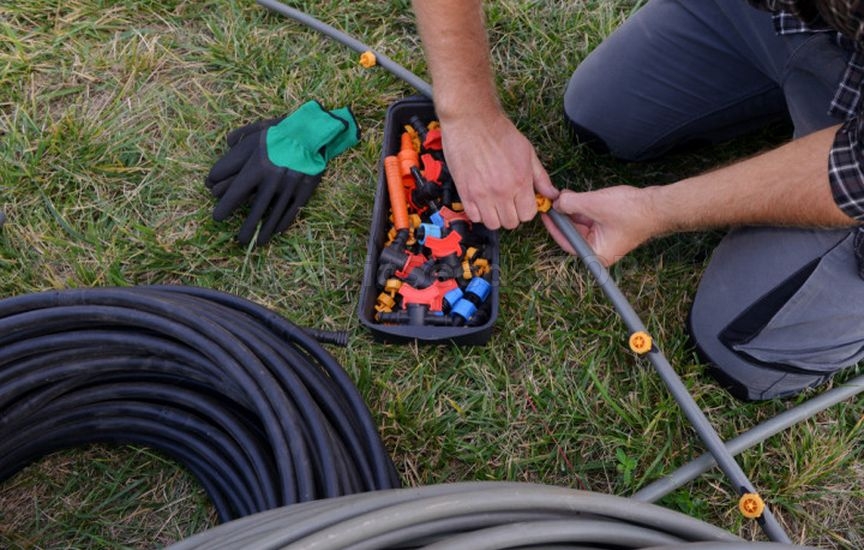 Irrigation systems are the most vulnerable part of garden inventory. Their main enemy is water. When freezing, it expands and can damage hoses, sprinklers, connectors, and pumps. Remove all plastic sprinklers, adapters, tees, and watering timers. Disassemble them, clean them of sand and plaque, dry them, and put them away for storage in a warm place. Inside small mechanisms, there is always a drop of water left, which when freezing can crack the plastic casing. Check the O-rings: cracked and deformed parts are best replaced before the start of the season. Don't forget about watering hoses. Before winter, they must be completely freed from water residues. To do this, the hoses are stretched on a slight slope or carefully coiled in wide rings, gradually lifting each coil and avoiding kinks. Store hoses in winter exclusively in coiled (skeined) condition. If they will winter in an unheated room, it is better to hang the hoses on wide semicircular holders or lay them on shelves. In severe frost, cheap PVC plastic becomes brittle, so it is highly undesirable to touch or move such hoses in winter. Garden pumps and pumping stations also require complete draining of water, cleaning of filters, and storage in a dry room with positive temperatures. Watering cans, barrels, and other containers must also be emptied and dried. Plastic tanks should not be left outside filled with water: ice can deform the walls. Organize proper storage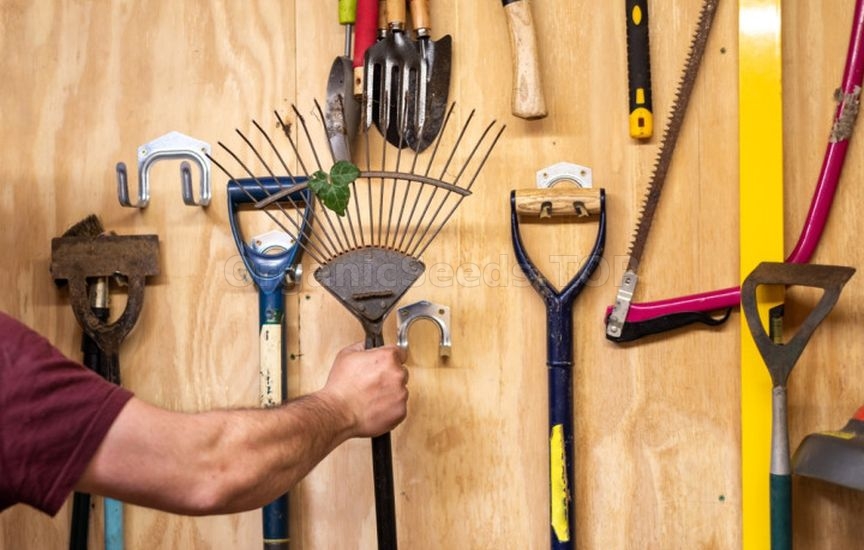 For wintering, tools need a dry, precipitation-protected, and ventilated room. Shovels, rakes, and pitchforks are conveniently placed on wall hooks or holders. This way they do not fall on each other, working parts are not damaged, and handles do not loosen. It is better to store small cutting tools (pruners, knives, scissors) in cases made of dense fabric or canvas, but in no case in plastic bags, where condensation inevitably forms during temperature fluctuations. Hinge mechanisms of pruners before final placement on the shelf should be left in a slightly open state so that the springs do not lose their elasticity over the long months of idleness. Wooden handles of tools should not come into contact with wet floors or damp walls. Keep metal parts away from fertilizers, wet rags, and other sources of contamination. Store oils, solvents, fertilizers, and plant protection products in their original packaging, separately from tools and heat sources. Take into account the requirements on the labels and do not pour chemical compounds into beverage bottles. Before final cleaning, make a list of what needs to be replaced: handles, fasteners, saw blades, or seals. A small repair usually costs less than buying a new tool. Before the start of the season, inspect the metal parts, wooden handles, and fasteners. Remove excess protective oil, check the sharpness of the blades, and the operation of the locks. Run clean water through the hoses and sprayers to check for leaks. To make garden tools last longer, you do not need expensive products and complex maintenance. A few hours in autumn will help avoid many breakdowns and allow you to start work in spring without extra expenses. You may need:Vegetable seedsFlower seedsOrganic fertilizers |
|
|