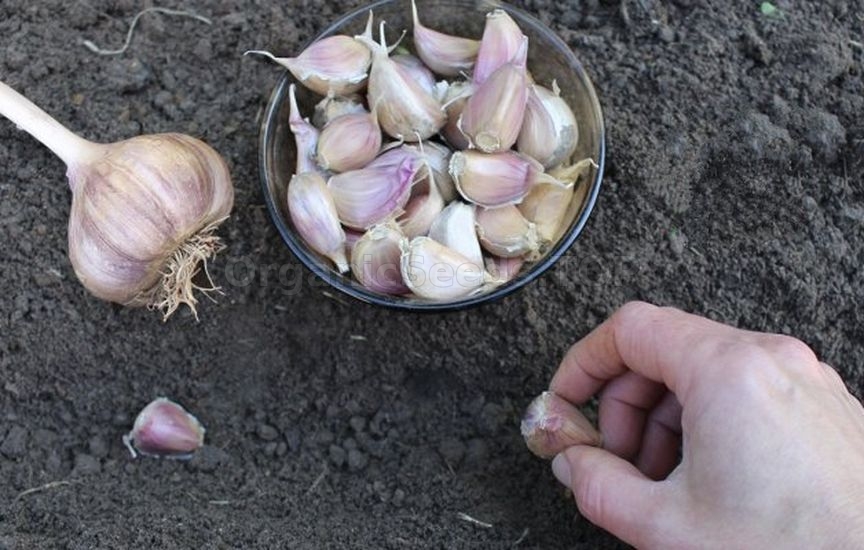
Planting garlic for winter – all the nuances of planting cloves |
Garlic is considered an unpretentious crop that any gardener can handle. However, when planting garlic, it is important to follow the basic rules of agricultural technology: carefully prepare the bed, select quality planting material, and of course, carry out all the work on time.
 How to determine the planting timeTo get a good garlic harvest, it is very important to choose the right planting time. And while spring garlic is planted in spring, winter garlic can be planted in mid-autumn, approximately a month before the onset of permanent frosts.
If winter garlic is planted too early, it will sprout and freeze, which will negatively affect the harvest. But if garlic is planted right before severe frosts, it will not have time to take root and may freeze in winter. In the middle zone, garlic is usually planted in the first or second decade of October – and by the November cold, the bulbs will have grown long and strong roots. How to prepare the bed for garlicGarlic grows well in light and loose soil rich in organic matter. The best predecessors for garlic are cucumbers, zucchini, early and cauliflower, as well as legumes and cereal crops, green manure from the Cruciferous family. Garlic can be returned to its previous place only after four years. It is also not recommended to plant garlic after bulb onions for the same period. Observing crop rotation rules is a mandatory requirement when growing this crop.
For planting garlic, choose well-lit, level areas where water does not accumulate after rains and snowmelt. If green manure is already growing on the bed at the time of preparation, mow it and incorporate it into the soil two weeks before planting. To accelerate the decomposition of organic matter, water the soil with a solution of EM-preparation or compost accelerator, and then cover the bed with black agrotextile. If the soil is poor in organic matter and green manure was not sown, apply a bucket of mature compost or 3–5 kg of vermicompost per 1 sq.m of bed. In heavy clay soil, it is useful to add deacidified high peat, leaf humus. In sandy soil, you can add sapropel, manure humus, or lowland peat. In addition to organic fertilizers, phosphorus-potassium fertilizers are applied to the bed for winter garlic. It is potassium and phosphorus that ensure good root system development and successful overwintering of the bulbs.  For soil with a neutral reaction, any complex fertilizer with a high content of potassium and phosphorus is suitable. For soil with a pH above 7 units, acidic fertilizers can be used: superphosphate (40–50 g per 1 sq.m), potassium sulfate (20–30 g per 1 sq.m), potassium magnesium (30 g per 1 sq.m). For slightly acidic soil, phosphate rock (150–200 g per 1 sq.m) or wood ash (200–250 g per 1 sq.m) is suitable. Evenly distribute the fertilizers over the soil surface, and then dig to half the depth of a spade or loosen the soil with a fork. Prepare the bed in advance, 7–10 days before the expected planting date, so that the soil settles. How to prepare planting material The quality of planting material plays an important role in the successful cultivation of garlic. When propagating garlic with cloves, select large heads without damage or signs of disease, and then divide them into cloves, trying not to damage the protective shell and the base where new roots form. This should be done immediately before planting so that the cloves do not dry out. Use the largest cloves for planting – they will produce the best garlic heads. The day before planting, soak the garlic cloves for 30–60 minutes in a solution of a biofungicide based on Bacillus subtilis (Fitosporin-M, etc.). The biofungicide solution should also be used to water the rows before planting, and garlic should be planted in moist soil. How to plant garlic correctly Garlic cloves can be planted in different ways. Most often, they are planted in single or double rows. Single rows are made at a distance of 25–30 cm, and cloves are placed every 10–12 cm. The row spacing on a bed with double rows should be wider: 35–40 cm. Each row has two “lines” spaced 13–15 cm apart, with cloves placed about 12–15 cm apart in a staggered pattern: large cloves farther apart, small ones closer together. The planting depth depends on the size of the cloves. For large cloves, make a furrow about 9–10 cm deep so that the top of the clove is approximately 5–6 cm below the soil surface. Small cloves can be planted at a depth of 7–8 cm. Should the plantings be covered After planting garlic, mulch the bed with hay, rotted sawdust, coniferous litter, or a mixture of deacidified high peat and compost. Mulch will help retain moisture in the soil, protect the ground from freezing and weathering, and maintain a stable temperature in the root zone, which is very important for successful garlic rooting. In spring, mulch can be left in place to make caring for the plantings easier: mulched beds require much less weeding and watering. Moreover, organic mulch will gradually decompose, enrich the soil with nutrients, and provide excellent conditions for the development of beneficial soil microflora. Winter garlic can be propagated not only by cloves but also by aerial bulbs – bulbils that form in place of inflorescences. Bulbils are also sown before winter to renew the planting material and increase its quantity. You may need:Organic Fertilizers |
|
|
