
Scarification and stratification of siberian cedar seeds |
 Siberian cedar is a symbol of health and strength, it is the tree of life that you can try to grow at home. There is nothing difficult about growing it. Before stratification, it is recommended to carry out scarification — artificial damage to the hard seed coat. The shell of a cedar nut is very dense, and without preliminary treatment some of the seeds may never germinate. Scarification facilitates the penetration of moisture and air to the embryo and significantly increases the germination rate. Why scarification is needed:
Main methods:
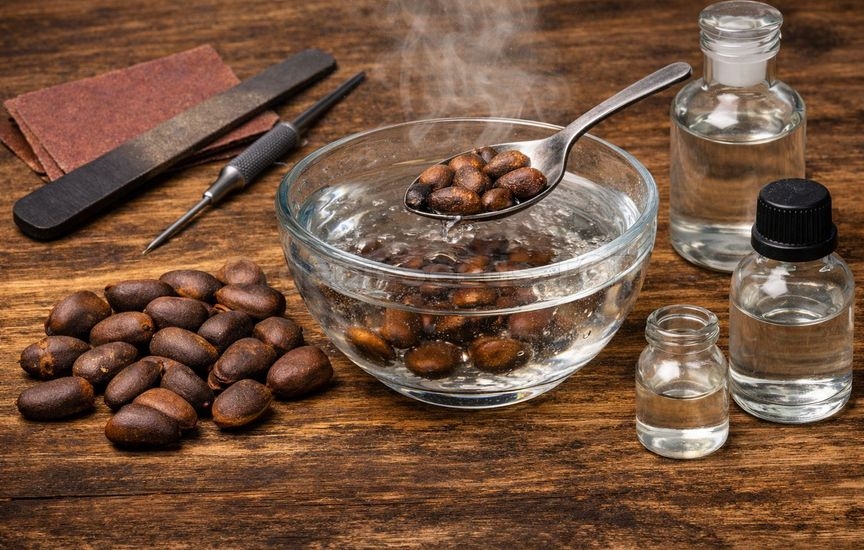 When to carry it out: Scarification is done immediately before soaking and stratification. If the seeds are treated in advance and left dry, they may lose their germination ability. Practical tips:
 Typical beginner mistakes:
Seed stratification For the first method we will need:
This is the usual stratification method, which is generally suitable for all conifers. First, moisten the sand and mix it thoroughly. The sand should be calcined so that all microbes in it are destroyed.  Next, pour sand onto the bottom of the jar, place the nuts on top, then cover them with sand again, and continue like this until the container is full. The germination rate of cedar is somewhere around 40%, or 50% at best.  The jars should be labeled, and the date must be written so that you know later when everything was prepared. Now leave the jars with the nuts for about 3 months. There is no need to moisten them later if your container is airtight. The jars can be stored either in the refrigerator at +5 °C or in another convenient place where the temperature stays around +5 °C (for example, I keep them in the cellar). No lighting is required. About twice a month, open the container to ventilate it and check for mold. Then take out the nuts and plant them in trays, cups, or pots. As soon as the seedlings emerge and grow a little, thin them out, leaving the strongest ones. The seedlings remain there until the ground outside has warmed up enough and they can be planted outdoors. The second method is fast.  You need to take ordinary paper towels or a cloth, in general, any material will do. Carefully place the seeds on the towel, it makes no difference how you do it. Remove defective nuts immediately, as they are of no use. Place another paper towel over the nuts and add another layer of nuts. Repeat once more — you will end up with three layers. The nuts do not necessarily have to be fresh, but it is better if they are, as this has a very strong effect on germination. The longer they have been stored for several seasons, the worse their germination will be. Therefore, if possible, always buy fresh planting material.  Next, roll everything into a tube, and if any nuts fall out, simply put them back, nothing страшного. Take another paper towel so that everything does not tear, and wrap the tube. Cedar grows very slowly, probably one of the slowest-growing trees. Yews also grow very slowly, but they are probably even slower than cedar. On average, it grows about 5 centimeters a year. Naturally, with each following year the growth speeds up a little. Conifers generally do not grow very quickly. Now thoroughly moisten the prepared roll with ordinary water so that everything is soaked. Squeeze it well with your hands, and you will get a small bundle that should be placed into a plastic bag.  Leave it for two days at room temperature in this state so that the nuts absorb some moisture. After that, put it into the freezer for one day, where they will freeze completely. Then take it out of the freezer, and for another two days the nuts stay again at room temperature. After that, the cedar can be planted into the soil.  Make small holes in the seedling container. There is no need to plant too deeply, about one and a half centimeters is enough. Take the seeds and place one nut into each hole. Now the nuts are planted.  Level the soil slightly and moisten it a little. You can cover the tray with plastic film, or you can leave it uncovered, it is not essential, the main thing is that the soil always remains moist.  Leave the container for about 2 weeks on a windowsill or under grow lights and observe.  You may need:Coniferous seedsOrganic Fertilizers |
|
|