When and how to transplant perennial asters in autumn |
Perennial asters decorate the garden when most flowering plants have already bloomed or are preparing for dormancy. However, over time you begin to notice that asters start to lose their decorative appeal: the plantings thin out, the flowers become smaller, and the plants themselves look weakened.
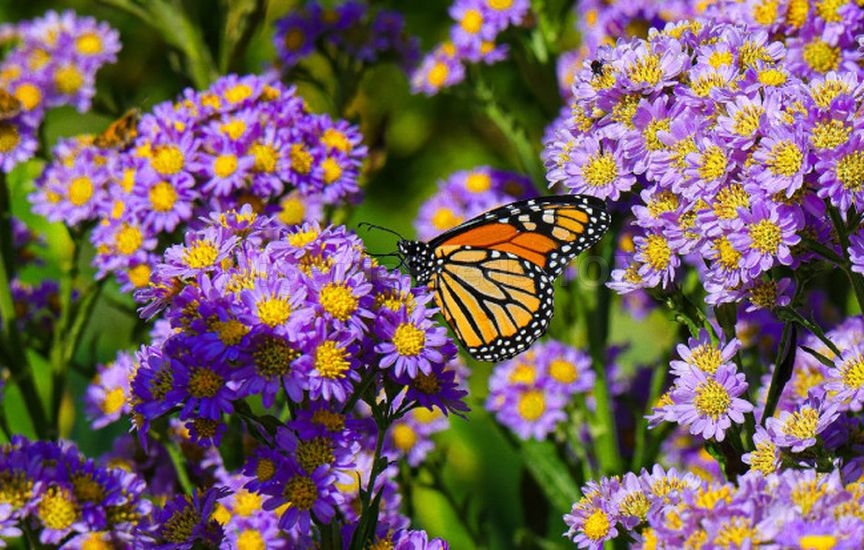 This is a sure sign that the bush needs rejuvenation. To keep the plants healthy, continue to bloom profusely, and not degenerate, they need to be transplanted every 4–5 years. And autumn is just the right time for this procedure. When to transplant perennial asters in autumn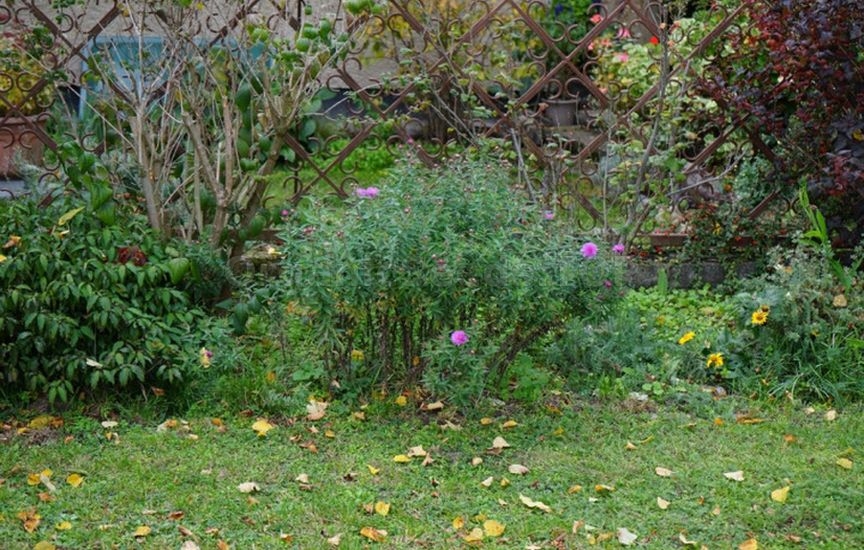 The optimal time for transplanting perennial asters is late September or early October, when flowering has already ended. It is important that there are still at least three to four weeks before severe frosts. This time is just enough for the plant to take root in a new place. If you miss the timing and transplant the aster too late, it may not have time to settle, which increases the risk of the bush dying during the winter. When planning the transplant, also pay attention to the weather conditions. The best time for work is a cloudy but not rainy day. If this is not possible, do the transplant in the evening hours when there are no bright sun rays. Preparing the site for perennial asters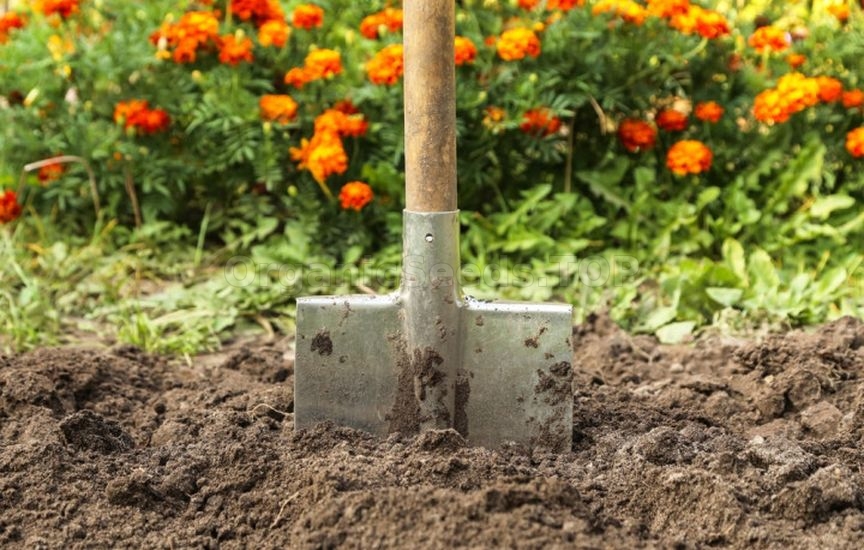 Before starting the transplant of asters, it is necessary to choose a suitable place for them. Perennial asters are light-loving plants. For lush flowering and maintaining a compact bush shape, they require an open sunny spot. Light partial shade is acceptable, but in deep shade the plant will stretch, bloom poorly, and get sick more often. Asters prefer light, well-drained soil. They do not like stagnant water, so lowlands where water accumulates in spring or autumn, or places with a high groundwater level, are not suitable. If the soil on your site is clayey, it is advisable to improve its structure before planting. To do this, add sand, leaf humus, or deacidified peat to the soil (1 bucket per 1 sq.m), and then dig it to the depth of a spade. On poor soils, add organic fertilizer when preparing the bed — humus or compost (5–6 kg per 1 sq.m). This will improve the flowering of asters, making it more abundant and prolonged. Fresh manure should not be used when planting asters. Also keep in mind that perennial asters do not like acidic soil. If the soil on your site is acidic, add dolomite flour (0.3–0.4 kg per 1 sq.m) or slaked lime (0.2–0.3 kg per 1 sq.m) during digging to reduce acidity. How to transplant perennial asters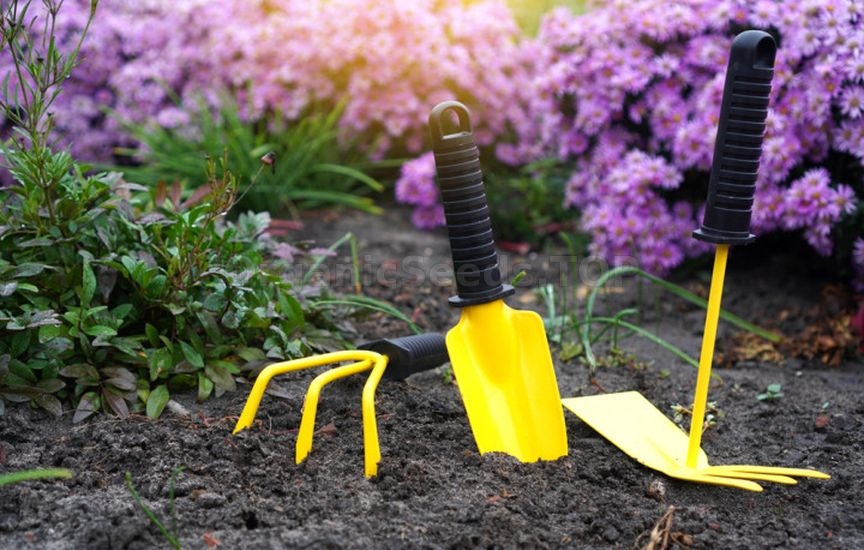 The process of transplanting asters can be divided into several stages. Let’s look at each in detail. Digging up the bush. First, carefully dig around the bush from all sides, stepping back about 20–30 cm from the base. This will help avoid damaging the root system. Then gently lift the plant with a spade and remove it from the ground. To extract a very old and strong bush, you will need to apply significant effort. If the roots have tightly entwined the soil clump, you can gently loosen them with your hands. Dividing the bush. Divide a too-large bush into several parts. This can be done by hand, with a sharp spade, or a large knife. Young bushes usually divide easily, older ones may require some effort. Division not only rejuvenates the plant but also allows you to quickly propagate perennial asters. Each division should have its own well-developed root system and several healthy shoots with buds. Remove old, woody, and rotting parts of the rootstock. Treat large cuts with crushed charcoal. Before planting, it is helpful to treat the roots with any root formation stimulator (Kornevin, KorneStim, Heteroauxin, etc.). This will help the plant settle faster. Preparing the planting hole. On the pre-prepared site, dig planting holes about 40 cm deep and slightly wider than the root clump. The distance between holes depends on the size of the adult bush, but on average it is about 60–80 cm — so the plants won’t interfere with each other in the future. Place a drainage layer 7–15 cm thick (depending on soil structure) at the bottom of each hole. Crushed brick, expanded clay, or coarse river sand are suitable as drainage. Planting. Place the division in the center of the planting hole. Make sure the roots are spread out and not bent upwards. Fill the hole with prepared fertile soil, lightly compacting it with your hands so there are no voids. Don’t forget to add potassium-phosphorus fertilizers to each planting hole: 2 tbsp of superphosphate and 1 tbsp of potassium sulfate or kalimagnesia. An important point — planting depth. Perennial asters should be planted at the same level they grew before. Do not bury the growth point. After planting, water the plant abundantly so the soil settles and compacts around the roots. Caring for asters after transplanting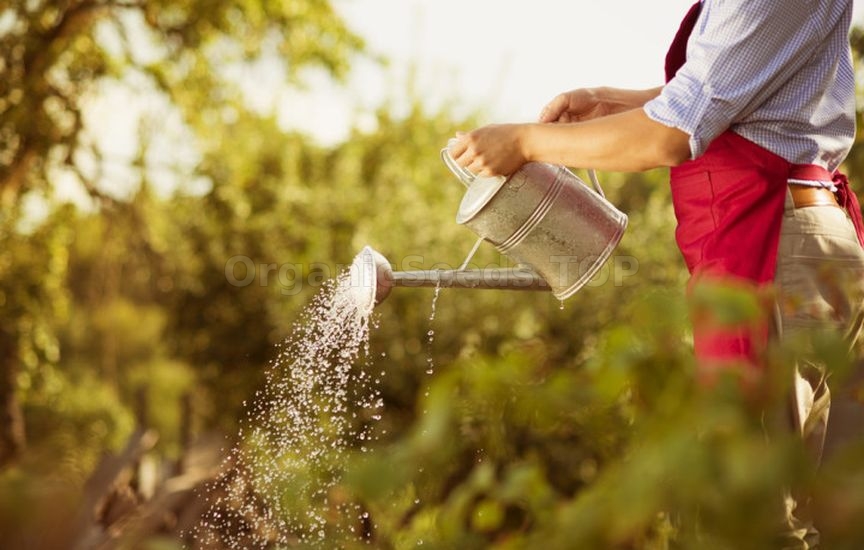 After transplanting, asters require minimal care, but you should not forget about the plants entirely. The first thing to do is ensure regular watering. The soil should be kept moderately moist, especially if the autumn is dry. This will help the roots settle faster. However, do not overwater the bushes, as excess moisture can lead to root rot. If the weather is warm, sunny, and windy, it is advisable to shade the plants for a few days after transplanting to reduce moisture evaporation. It is also recommended to mulch the soil around the bushes with peat, humus, or sawdust. This will help retain moisture and protect the roots from sudden temperature changes. In late autumn, when the first frosts arrive, it is advisable to cover the area with transplanted asters with a thick layer of dry leaves or spruce branches. This will protect the flowers during their first winter after transplanting. This procedure is especially important for bushes transplanted late in the season. If you did everything correctly, then next season the perennial aster bushes will reward you with vigorous growth and incredibly lush and bright flowering. You may need:Aster seedsOrganic Fertilizers |
|
|
